# Create a Java bot
To create a Java bot, follow the steps below:
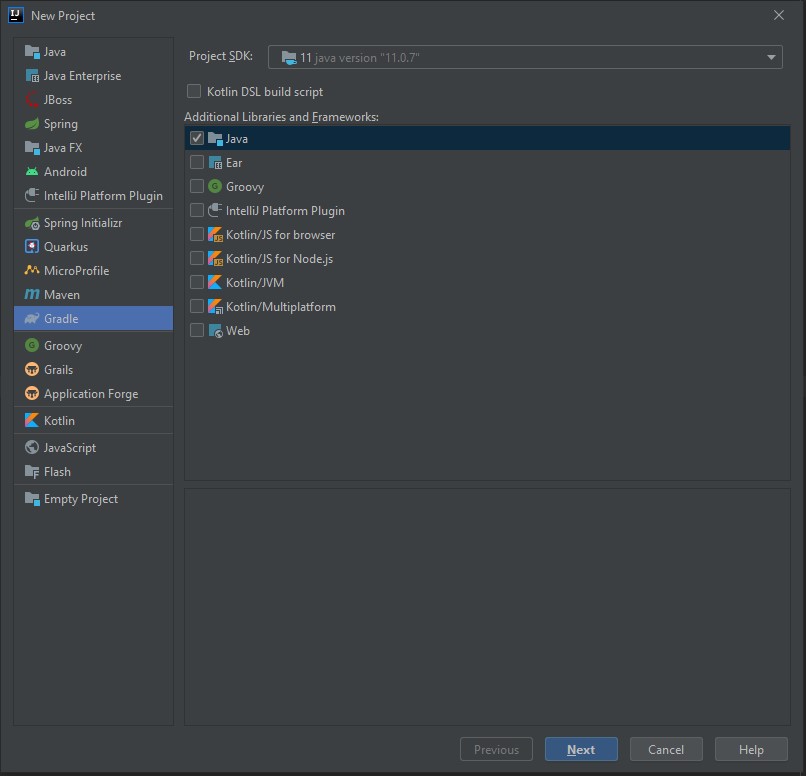
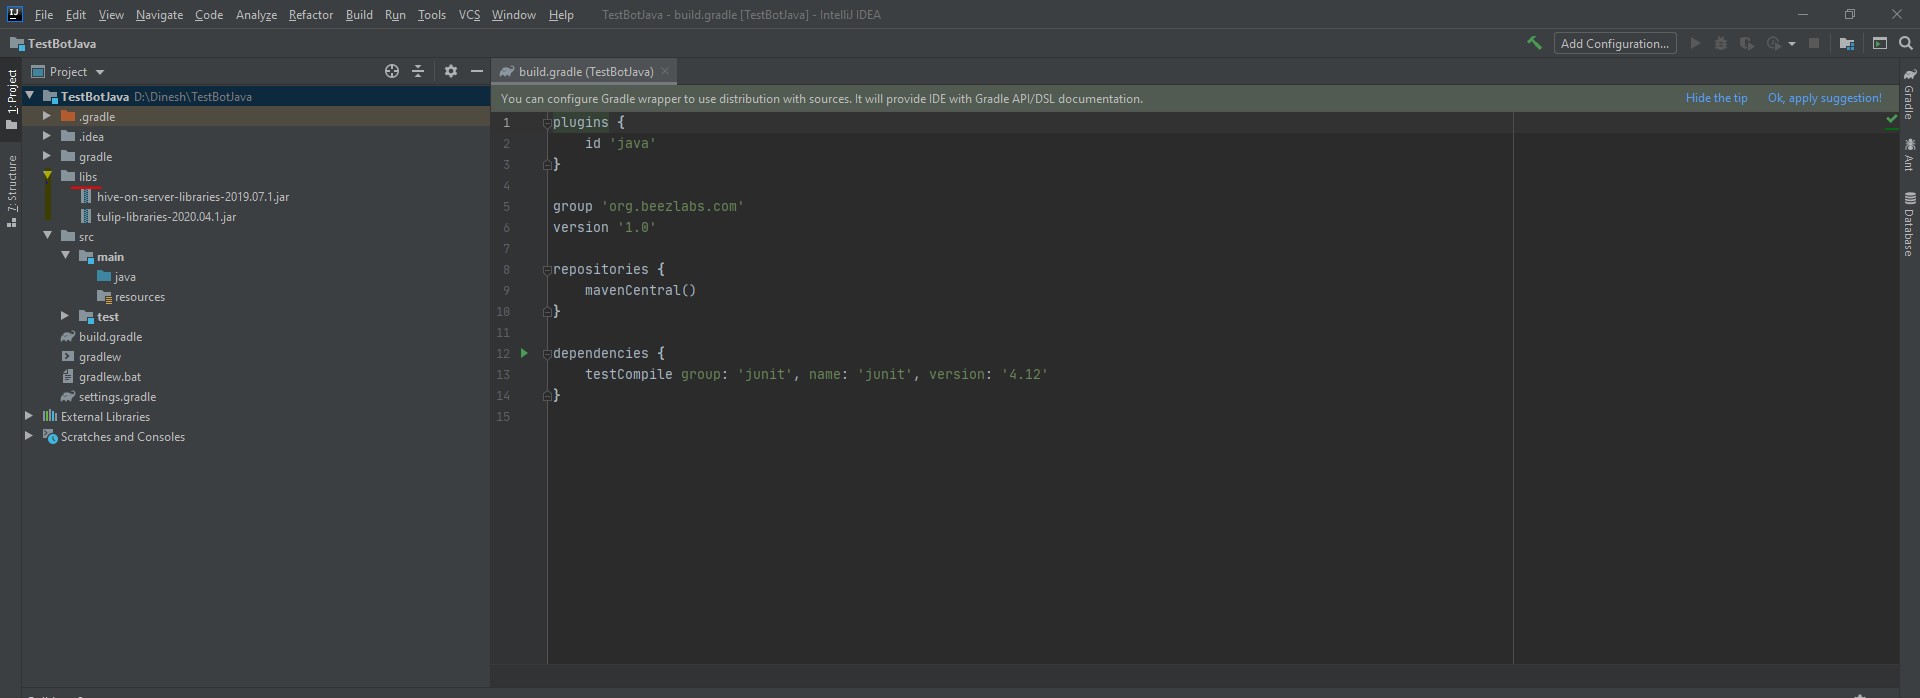
Step 1: Create a new Java project using any IDE (IntelliJ has been used in this document)
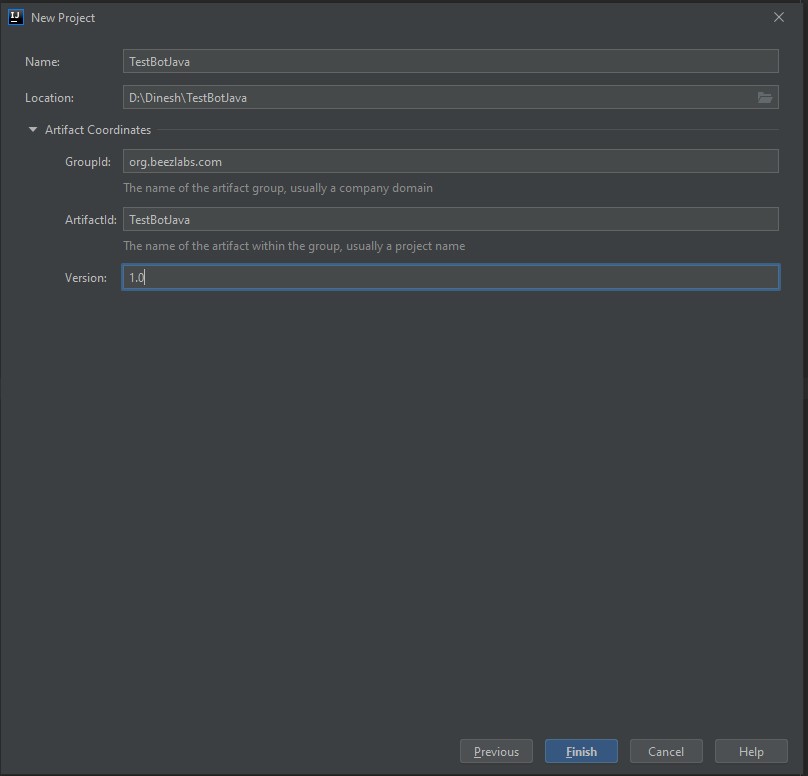
Step 2: Provide the location for the project and fill other fields as well and click on Finish button
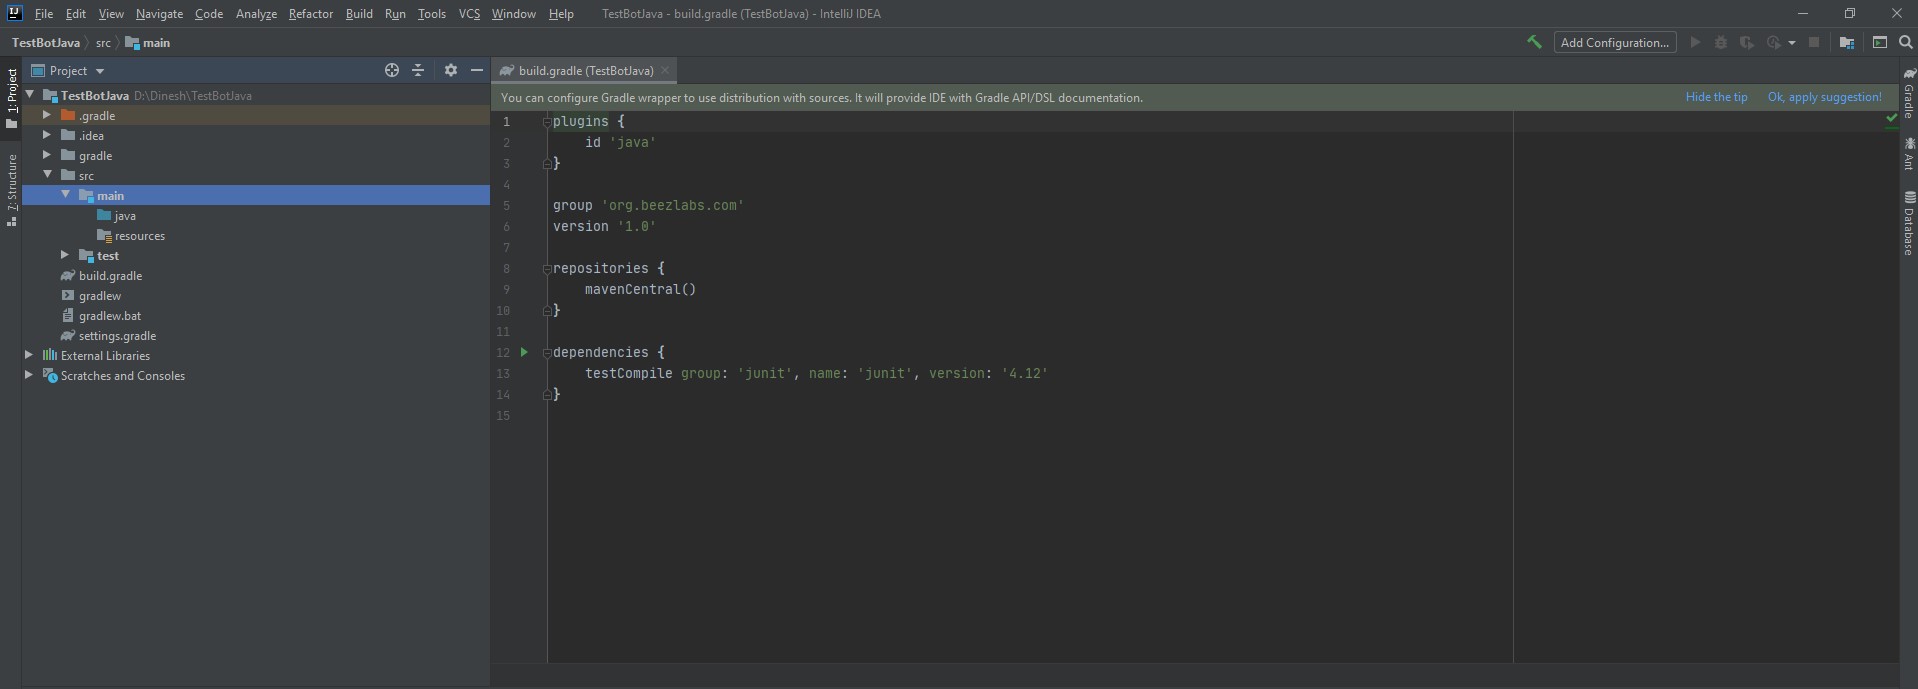
A new project will be created and you will able to see the project structure in IDE.
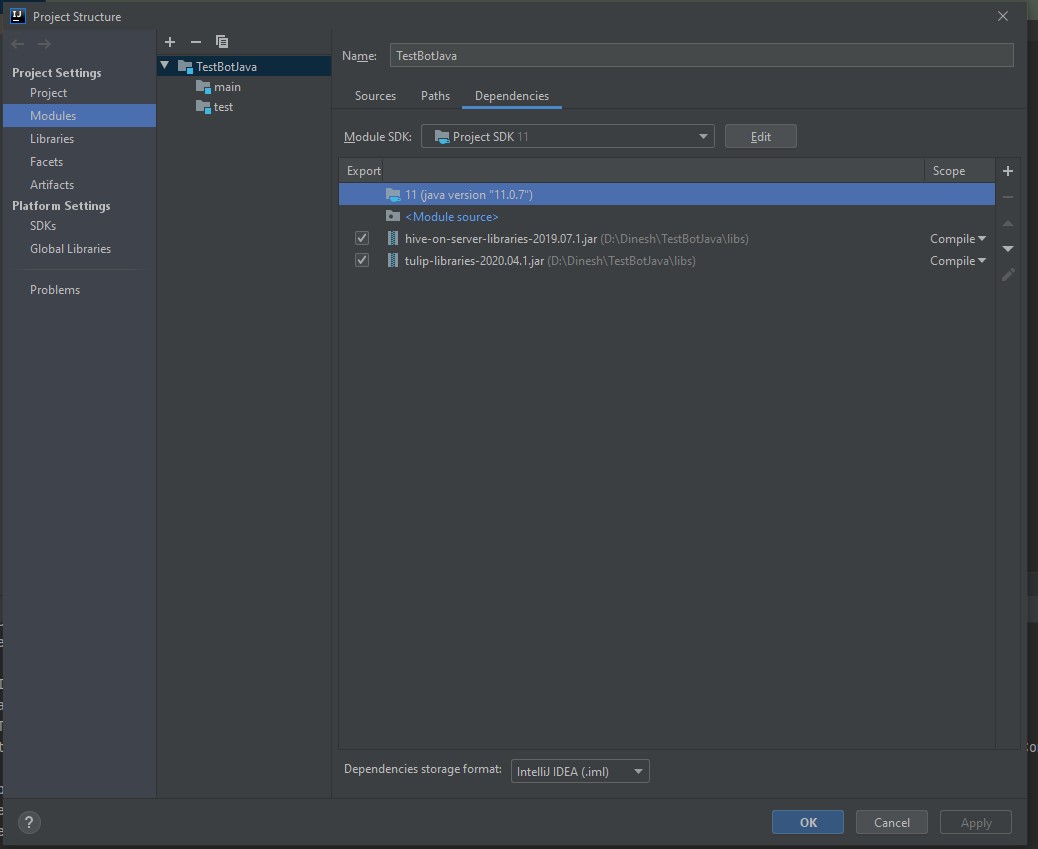
Step 3: Add Tulip libraries to the project
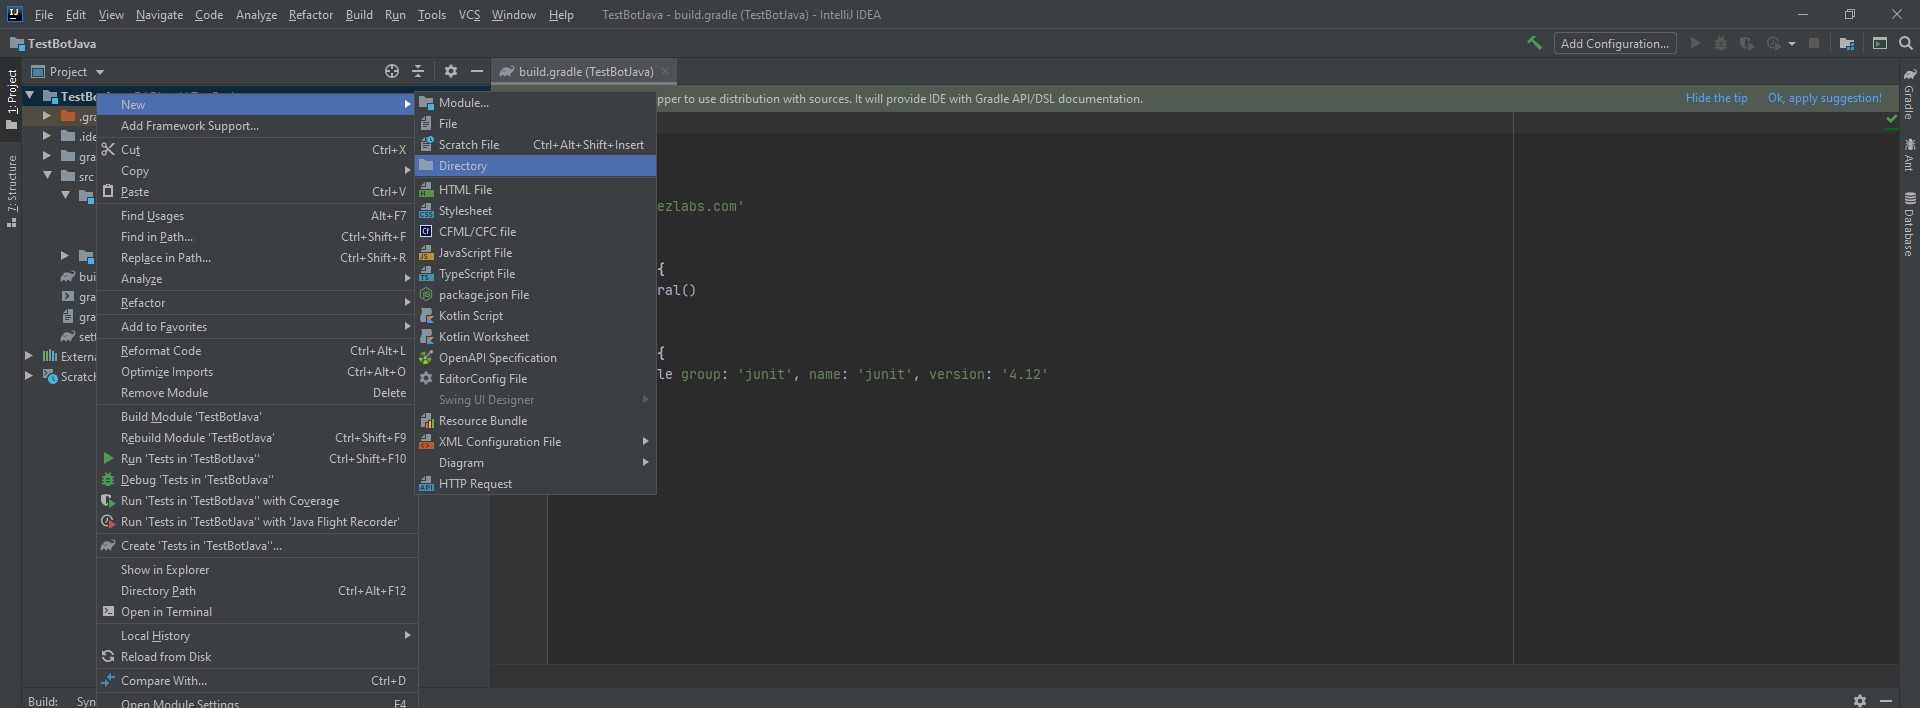
Create a new directory and add the library jar in that folder. Here “libs” folder is created under the parent folder
Add the dependency in the module:
File -> Project Structure -> Modules -> Dependencies and click on Add. Then select the jars that are present in libs folder. Click on OK button
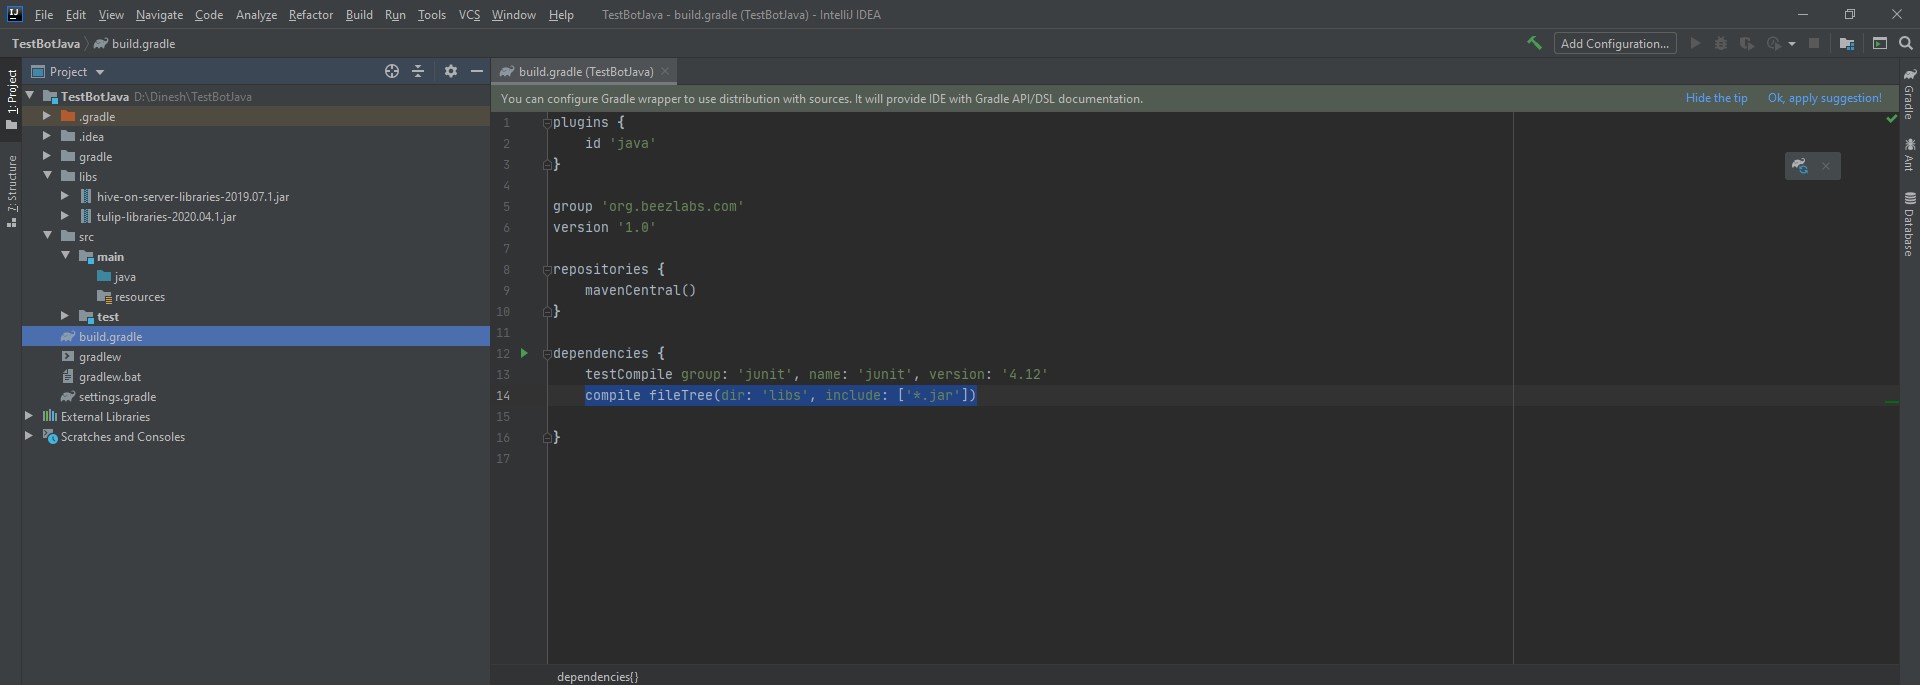
Step 4: Add the library dependencies in bundle.gradle file by including a line
compile fileTree(dir: 'libs', include; ['*.jar'])"
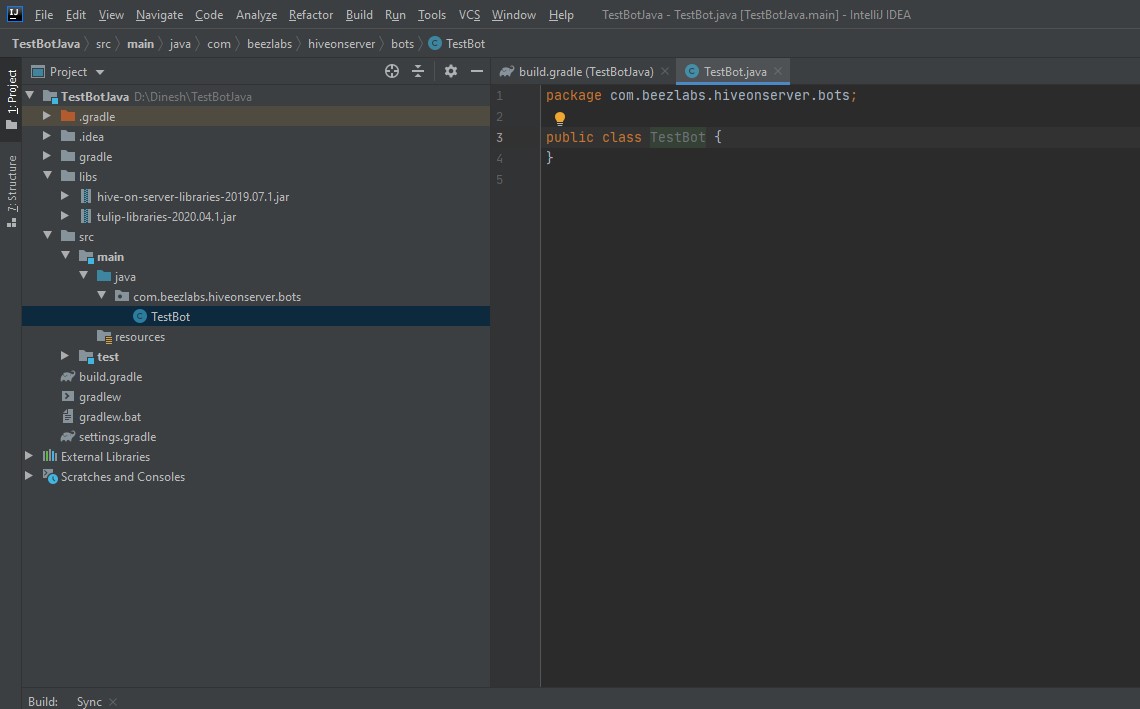
Step 5: Create a new java class under srv->main->java and add the business logic
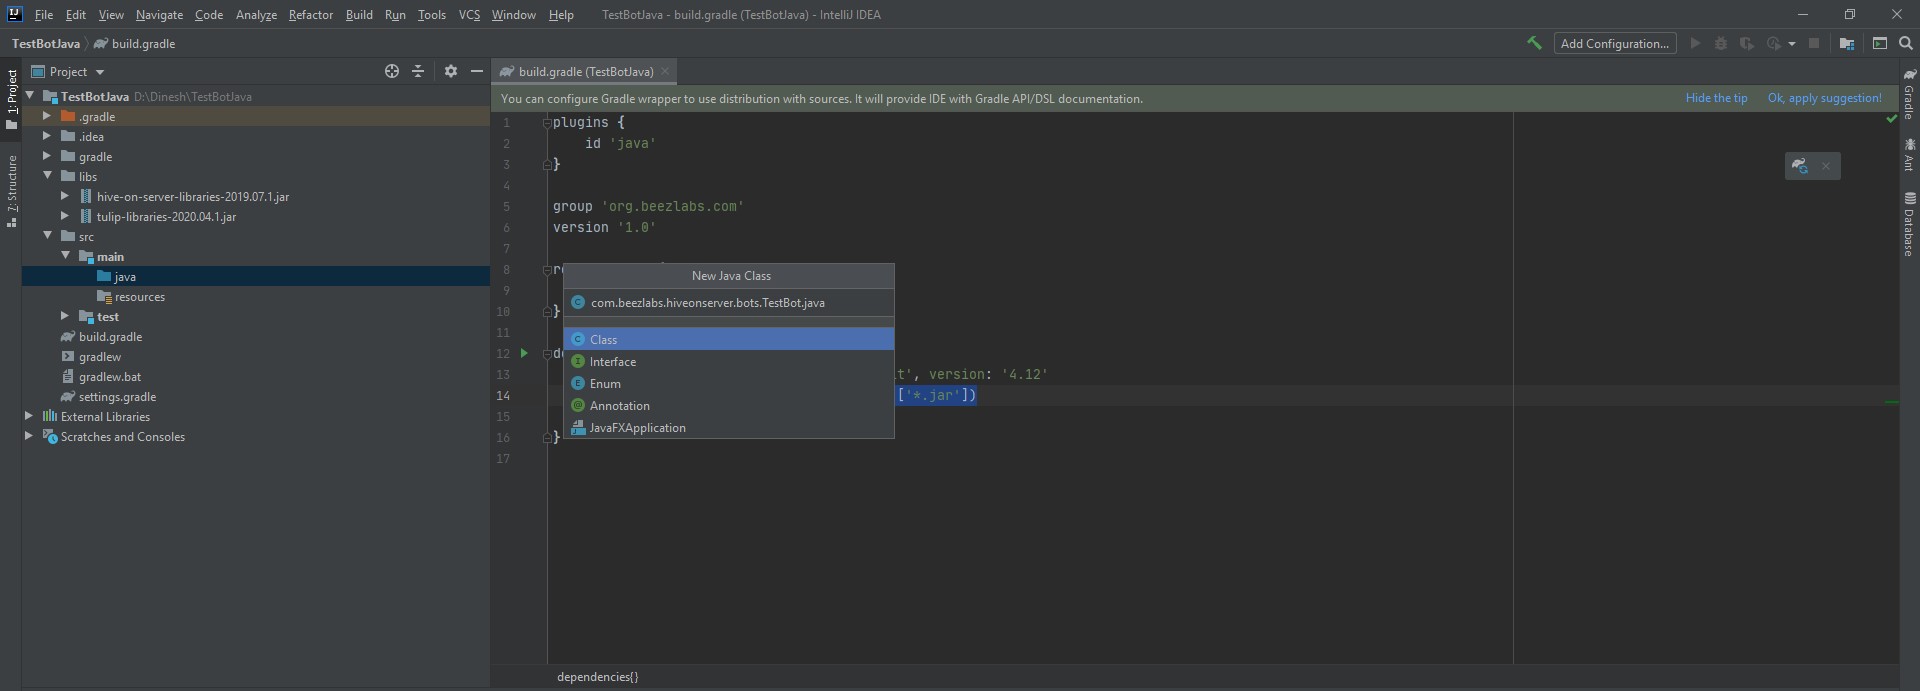
A new class will be created as shown below:
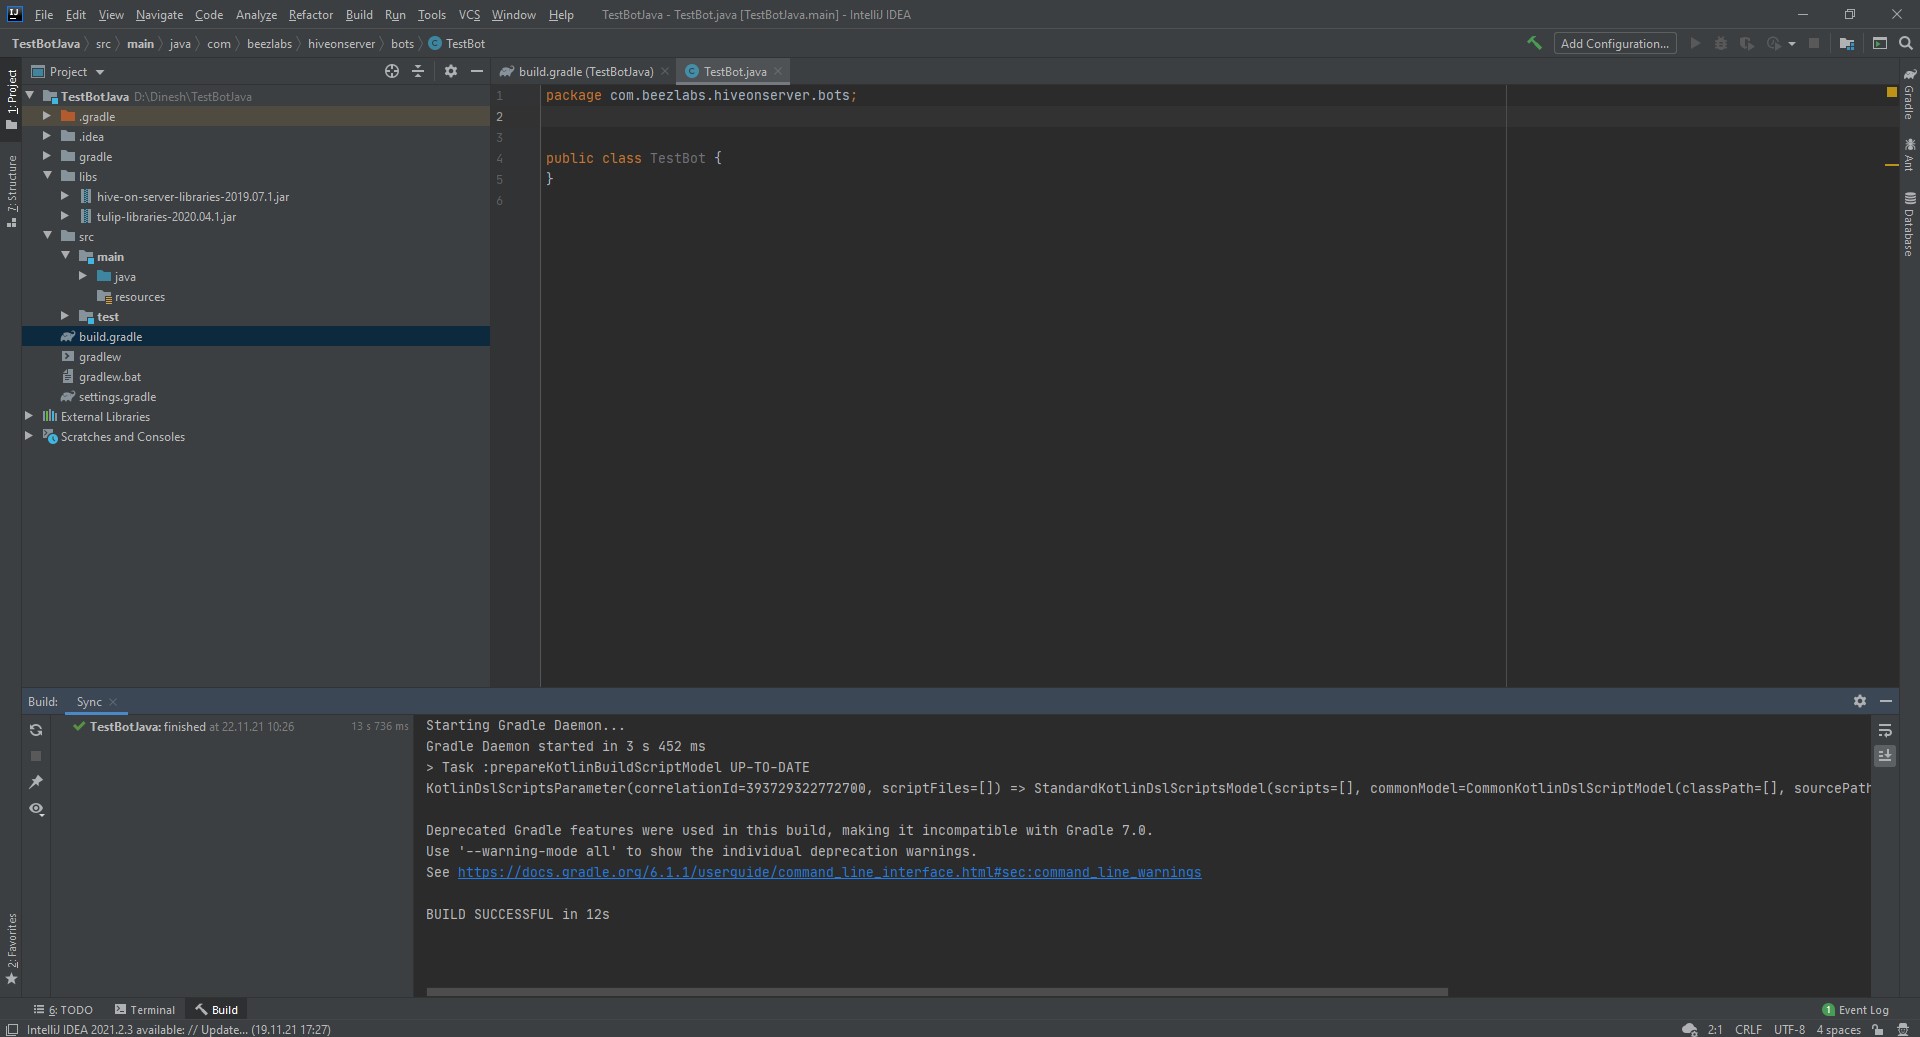
Click on the Grade logo to load the imported library dependencies. You will be able to see Build Successful message as shown in the screenshot below:
Import needed library class to the main class as shown below:

Then extend the JavaBotTemplate to the class and implementation for the abstract method “botLogic”. Add the business logic inside botLogic method.
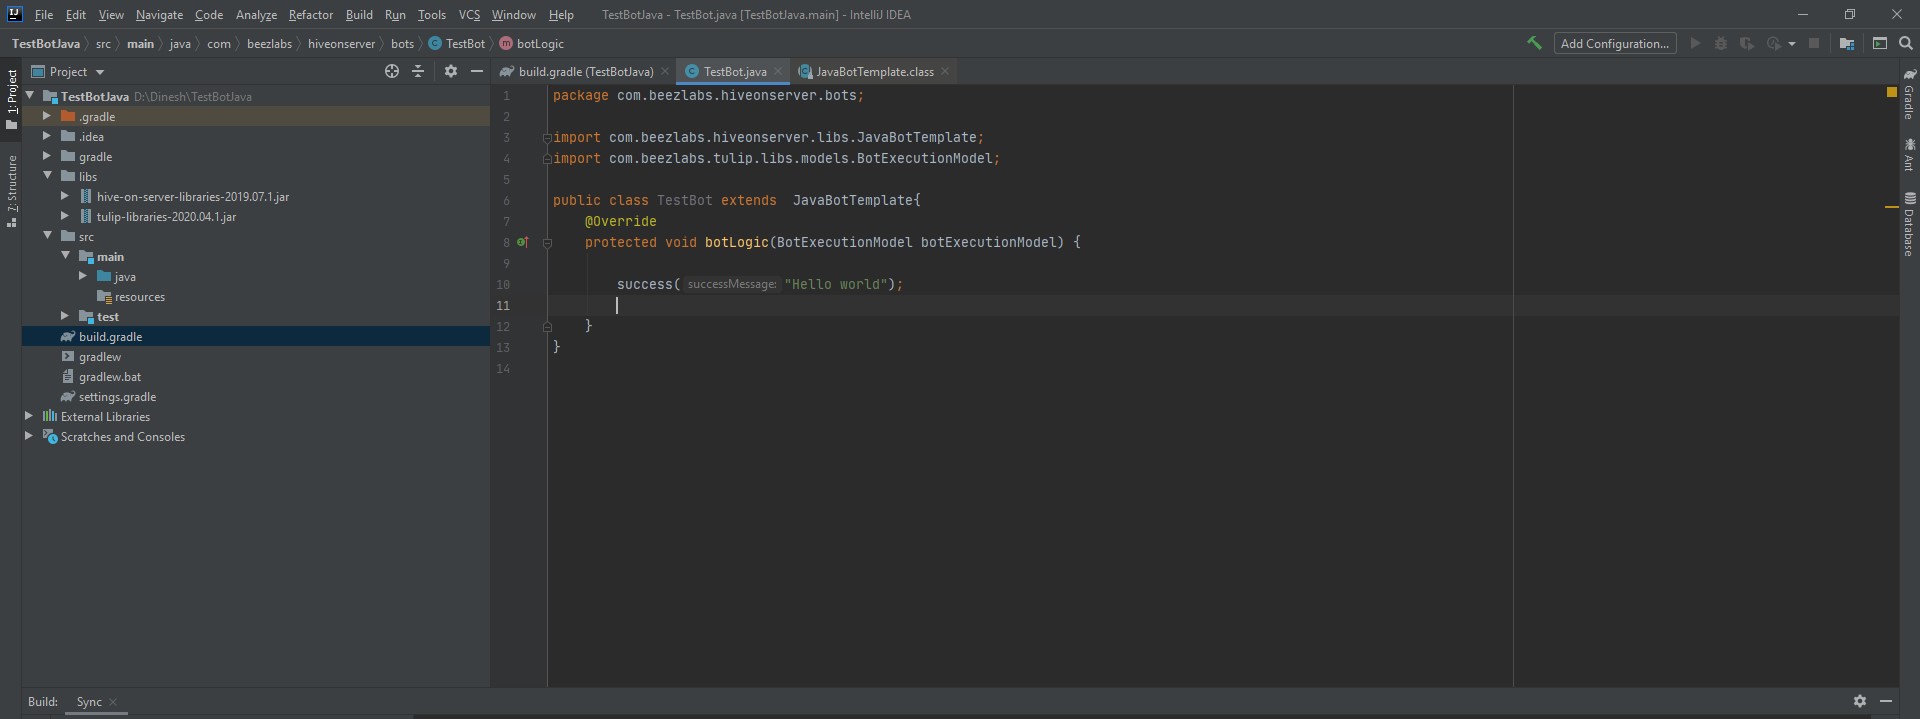
Above bot will send reply as “Hello world”.
Methods available in JavaBotTemplate:
        success : sends the message passed in the argument with message type “success”
        failure: sends the message passed in the argument with message type “failed”
        addVariable: add the object to bot state which shall later to passed to Tulip